Pioneering page two
To carry on from pioneering page one
So on the first pioneering page you have seen some of the things we do, and hopefully if you have never done pioneering before, its given you a bit of inspiration. Therese nothing hard about it, all you have to do is start small, and as you become more competent work your way up to bigger and better thing. But first you must learn the basic lashings, and unlike knots all you have to learn is just four, yes ‘4.’
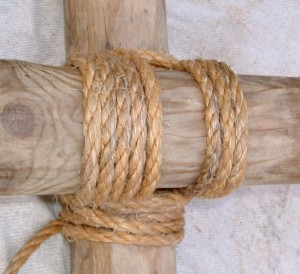
1 The square Lashing
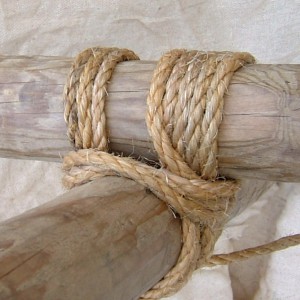
2 Side view showing frappins.
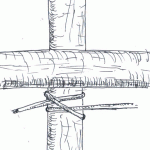
The Square Lashing is for fastening one pole/spar to another, and is used in the construction of most camp gadgets etc. Normally this particular lashings load is from above, so the strain is on the vertical spar or the underside of the cross spar, because of this we start with a clove hitch under this spar as in drawing (A) below to give it maximum strength, Its tied in the normal way but finished by twisting the end up the standing part, again for added strength as in (B).
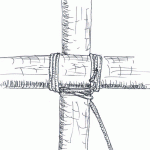
Next you continue by passing the rope up and over the cross spar, behind and round the back of the vertical spar, then back over and down the front of the cross spar, under, and finish by continuing round the back of the vertical spar to where you started, you have now done one complete turn. This has to be repeated twice as in (C) to give you at least three turns, but to keep them flat the turns round the back go on the inside of each other (D) & (E) with the ones on the front going on the outside (C).
Clovehitch A
Clove hitch C

Clove hitch C
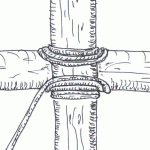
Lashing D
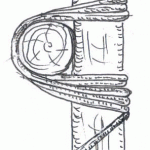
Lashing E
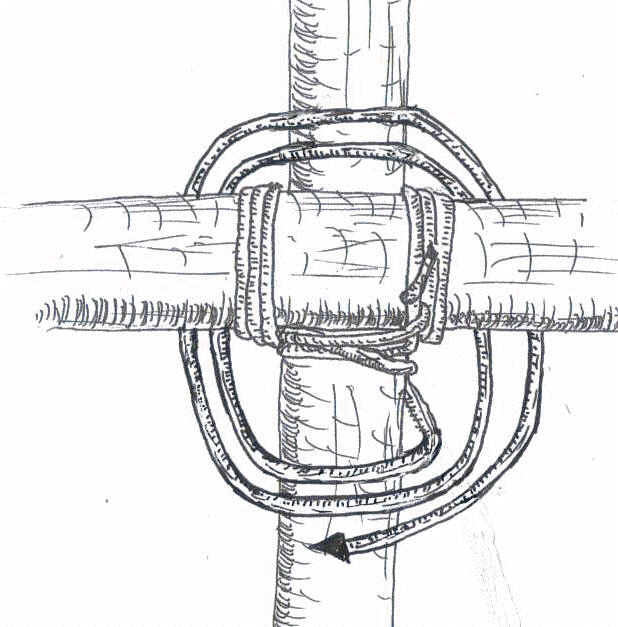
Lashing F
Finally you finish of by doing what we call frapping turns (F), bring the rope round the front and do at least two complete turns in-between the two spars, pulling them as tight as possible as you go, this is very important as these turns pull the whole thing together giving it its strength.
Finally you finish off with a clove hitch on the opposite spar to the one you started on, (H) you have not finish until you have made sure this is completely tight and cannot slip, if you want you can do an extra half hitch. It is most important when tying any lashing, to do each turn and twist as tight as possible, and keep the tension on until you have completed the lashing, if needed have someone to help you to achieve this.
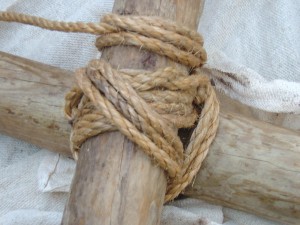
Diagonal lashing
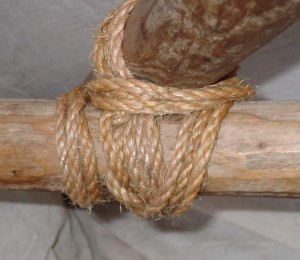
diagonal lashing
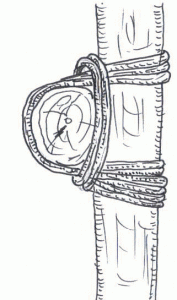
Lashing G
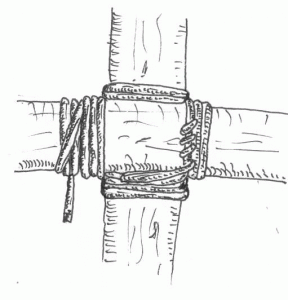
Lashing H
The Diagonal Lashing
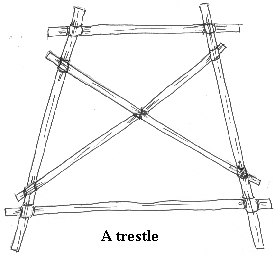
This lashing is better used when the spars are to be set diagonally as in the diagram normally used on spars that cross in the center of a trestle or when the strain on them tends to push their ends apart.
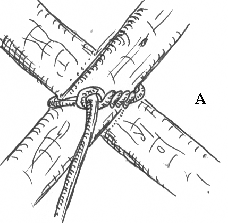
This lashing is tide in a similar way to the square lashing but starts with a timber hitch round the center (A), make three or four turns as in (B), next do the same again but this time in the other fork (C). Then as with the square lashing do three fraps in-between the two spars, and finish of with a clove hitch (D), as with all lashings it’s important to keep everything neat and tight.
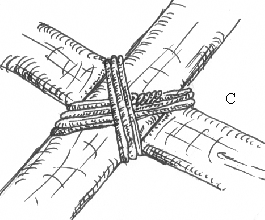
diagonal lashing C
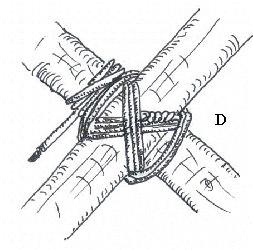
lashing D
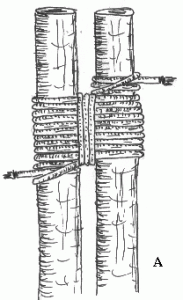
Sheer Lashing this is used to lash together parallel poles, to extend them or as in the diagram to make the top of an A frame, or shear legs. It is one of the simpler of lashing to tie, start as with most lashings with a clove hitch on one spar and twist the end up the standing part as for the square lashing, this is the normal way of finishing of clove hitches used on lashings. Next make up to eight or nine turns round both spars but do nut pull the spars tight together, you will need a small gap for the frapping’s three should do, and finish of with a clove hitch on the opposite spar. There’s one difference with this lashing depending what you want to use it for, if you want to open the legs as in B then you do not have to make it too tight, because this can make it difficult to open them, and you may strain or damage the rope. But if you are using it in conjunction with another one to extend a spar, then you need to make it as tight as possible, also you will fined it better to start and finish your clove hitch round both spars.
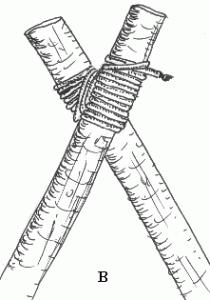
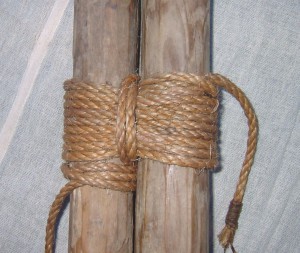
Sheer Lashing
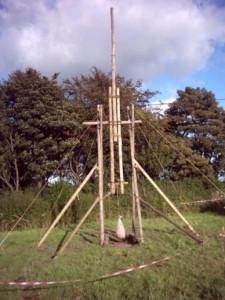
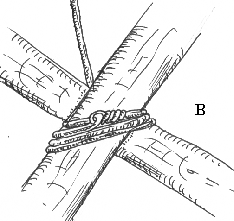
lashing B

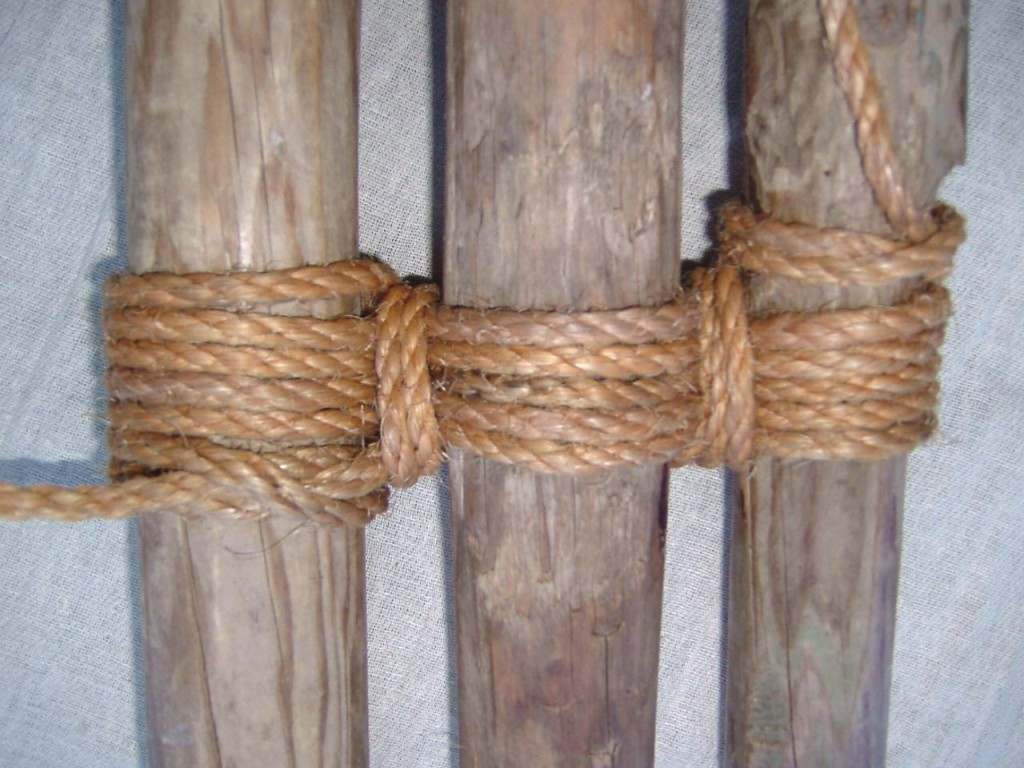
The Figure-of-Eight Lashing this is used to fasten three poles together to make a tripod or wash stand etc. there are two different ways to do this lashing depending what you are using it for, you can start with all three spars level at the top (A) and after tying the lashing just open them out, this is ideal for something like a wash stand but obviously you would tie it lower down. But if you want something a little stronger/tighter then you start with the two outside poles with there tops level running top to bottom and the inner one upside down running bottom to top (B) and after tying the lashing you pull the inner spar down and open the others out, but be careful its not that tight it snaps the lashing. Having decided on A or B you start with a clove hitch round one of the outside spars, twist the running and standing ends together as with the other lashings, and then thread the rope round the spars over and under alternatively making a figure of eight as in the diagram, eight or nine will do. Frap in-between the spars to pull everything tight and finish of with a clove hitch on the other outside spar.


Next we are going to look at constructing some pioneering projects, starting first with something simple and then getting a little more complicated.
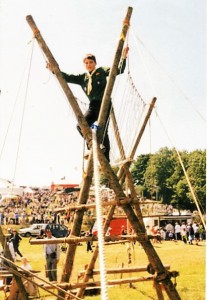
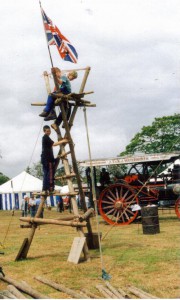
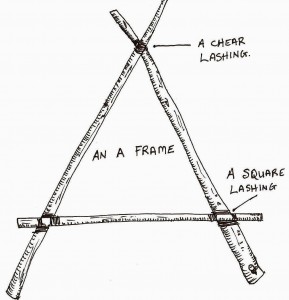
First you must construct an A frame. We use A frames for a number of pioneering constructions and usually you will need two mirroring each other. You must take great care when constructing two as they must be the same in height and width, with the part where they cross over at the top in the same place, and the cross bars at the same height. if in doubt make one and then place the other on top of it, another thing to consider is where the sheer lashing is going at the top to make the crossover, because depending what you are making will determine where you put this, but for now concentrate more on just making a small A frame. once you have made it get some help to hold it up and test your lashings by standing on the cross bar, you can use it as a chariot by standing or sitting on the crossbar and have two or more friends pull it round, as in C and D.
Something larger can be used to help you cross a stream or small river, as in the demonstration A and B, by standing on the cross frame with help you can use the frame as a pivot and cross from one side to another, fasten a rope to the top with equal lengths on both sides to assist you, a long pole can be used on each side to help with the pushing but great care must be taken when lifting, pulling, and lowering the frame on the opposing sides. A chariot race is much more fun, but you need two people to hold it up at the sheer lashing when in use, try a couple of short runs first.
Remember think safe, and always use the safe lifting code, bend at the knees, keep your back straight, and keep the weight close to your body, and never lift more than you are comfortable with.
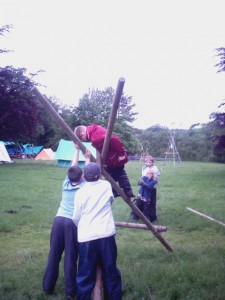
A frame in use (A)
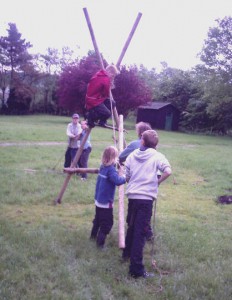
A frame (B)
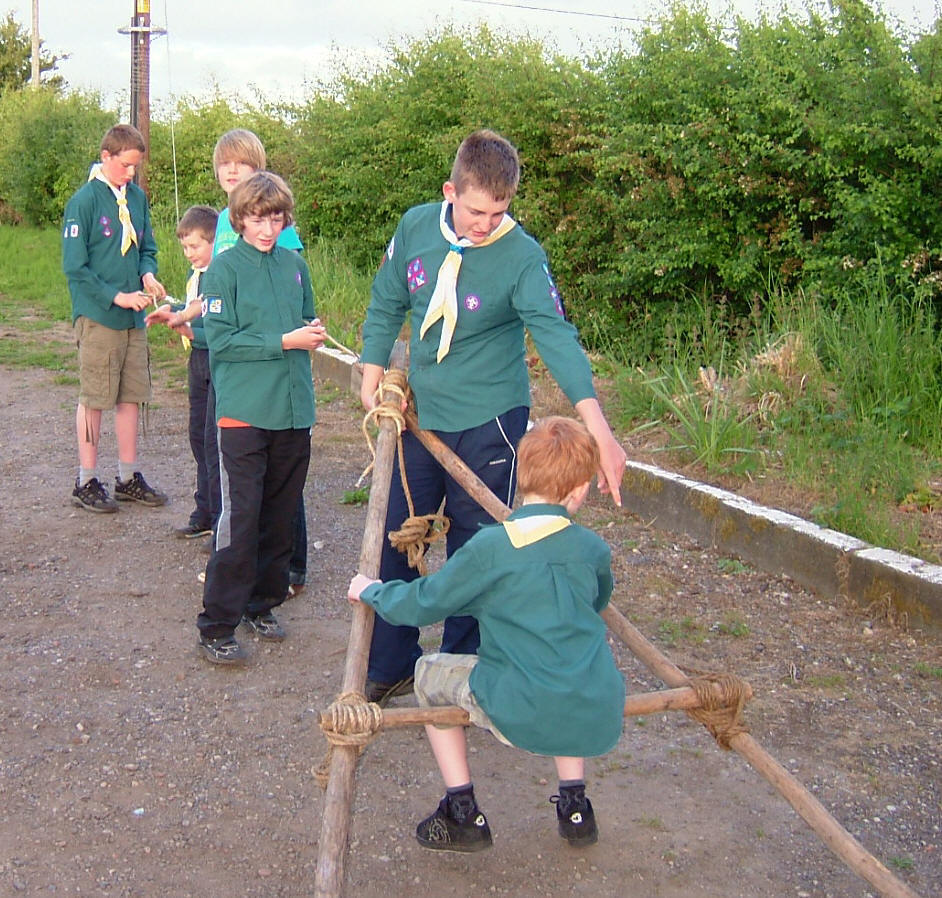
A frame (C)
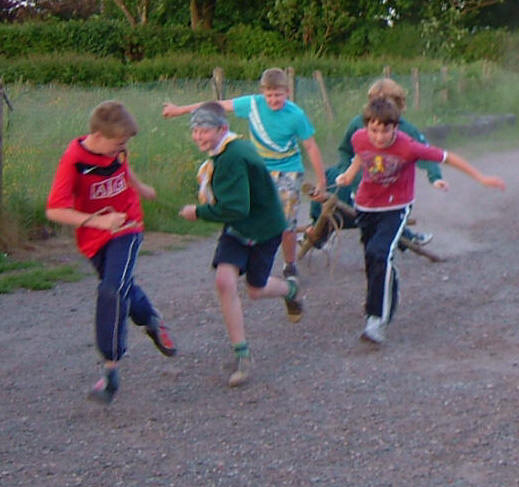
A frame Chariot (D)
We start by considering what we will need to make two A frames. Six lengths of rope for the lashings, four longer spars/poles of equal length, and two smaller ones for the cross members. two long lengths of rope, and how long will depend on the length of bridge you want to make, you will need one to stand on, and one to hold on too, the bottom rope will need to hold the weight, and more, of the heaviest person to cross, if in doubt ask your supplier what load the rope is capable of holding before it will snap. You will need a minimum of four metal pegs, but eight would be better, these need to be suitable to hold up the A frames and to take the strain of the two ropes. We use metal spikes/pegs specially made for us by a local blacksmith, these are of different lengths and diameter, I pick ones to match what we are building, and the condition of the ground on site. you will also need a block and tackle to take up the slack on the bottom rope, or you can use a drovers hitch if the distance between the A frames is not to great. you will also need four short lengths of brush handle or similar, but I will explain later, one small double pulley would also be an advantage but not essential, a sledge hammer and four people.
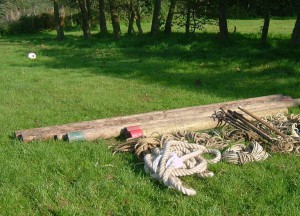
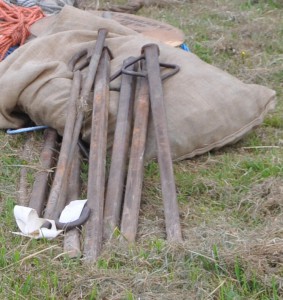
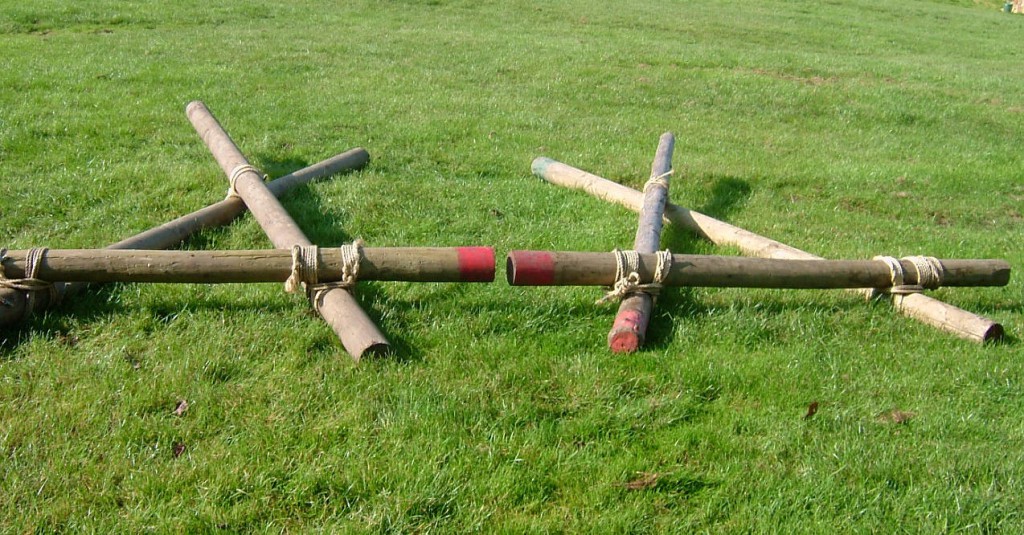
I am using a mix of pictures to show you what to do, so if the A frames change you know why. Above are the materials set out for the construction of a monkey bridge note the metal pegs. I always set out what we need first and inspect each item in turn. Next are two A frames of equal size remember what you must do when building two A frames of equal size, and again another picture of some of the metal pegs I use. When you are happy with the A frames set them in place on site where you want them, next fasten/fix any top ropes to it before lifting, (for this bridge the red rope for holding onto, wrap this round the A frame as in the diagram below, and the blue to keep the frame in place) this will make things easier later on, also remove the grass where the feet are to sit and place them in the hole, this will stop the frames from moving but keep the sods of grass safe to put back later. Next hammer a large peg in the ground at a suitable distance from the frame, get your friends to lift the frame till it stands up straight, and fasten the red rope to the peg with a round-turn and two half hitches. Make sure one of them keeps holding it in place at this point, because it will still fall down. Next do the same at the other end, but this time apply some tension to the red rope with either a drover’s hitch, or a block and tackle, which you use, is up to you? Refer to diagram. Finally fix the bottom rope across the bottom cross bars of the A frame and attach to a double block and tackle as in the diagram and picture, and apply enough tension to keep it taut. You need to inspect the tension on the bottom rope constantly and adjust as the A frames settle and it becomes slack.
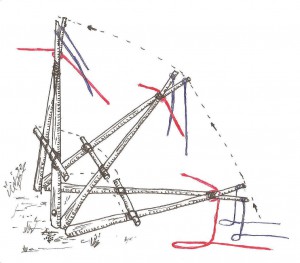
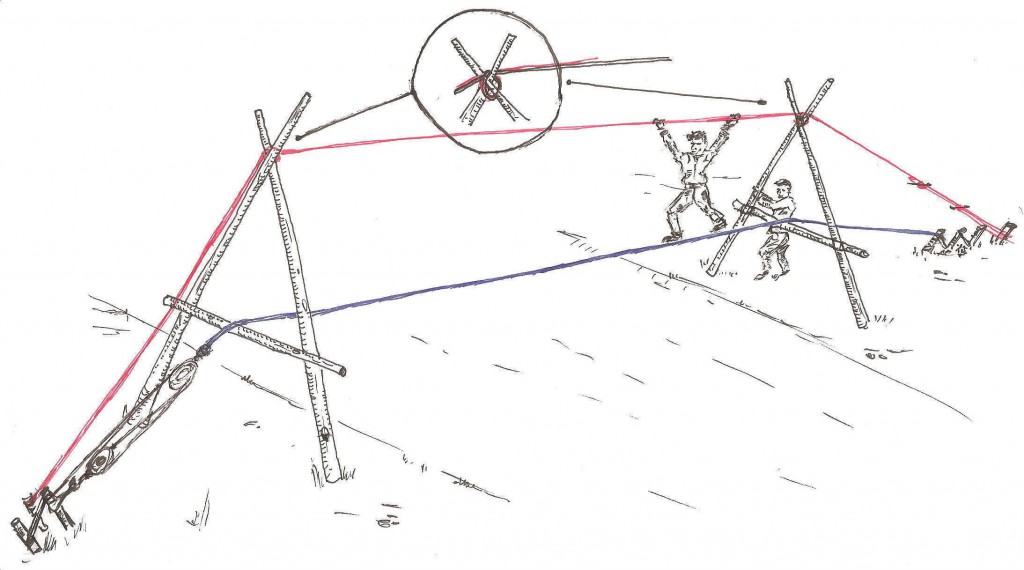
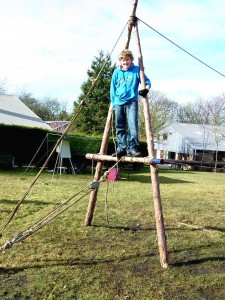
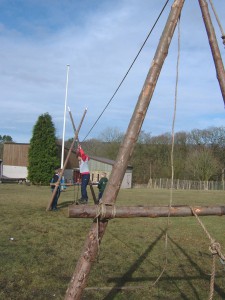
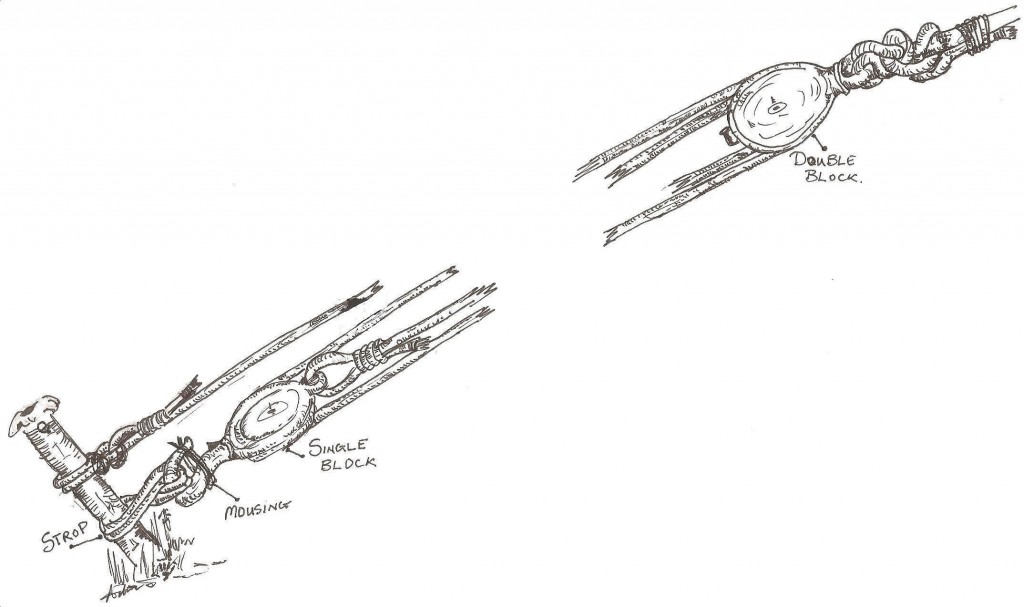
In the pictures above we did not us guy lines to hold the A frames but this was only because they were made during a Patrol Leaders competition and a maximum of six people were going to cross the bridge in total, by wrapping the top rope round the A frame this is sufficient to hold up the frames, but as sated you must constantly monitor the safety of the A frames. If you are going to have the bridge up for some time and a number of people are going to cross it, then for safety reasons I would use four guy lines to hold up the A frames one to the top of each spar of the A frame, and held in position with a drovers hitch. Check the tension of these lines and if they become slack adjust them, its better to alternate from one A frame to the other keeping an eye on the angel of the A frames, you do not want them to lean one way or the other precariously.
I have been talking about using a Drovers hitch without explaining how to tie one so I had better put that right
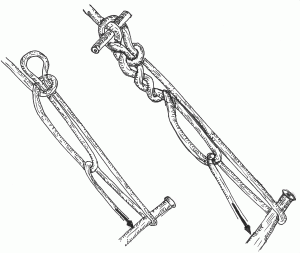
The Drovers or Wagener’s Hitch 18 and 18A is used in a similar way to a block and tackle, and is a simple and effective way of putting tension on a rope. This hitch is used by wagon drivers to secure a load, but can also be used on anchor lines, or to hold things down.
I have used this Hitch to put tension on rope bridges etc. but if you are going to put a considerable amount of tension on it, then it’s better to use 18/A but beware you can pull the pegs out or snap the rope using this hitch.
Earlier I mentioned four short lengths of brush handle or similar, well as you can see in the diagram for 18A the top loop to the hitch is made more secure by placing a short length of wood through the top loop also I apply a couple of twists to the tension loop before passing the Standing part of the rope through, it’s also worth mentioning again you can put a considerable amount of tension on this hitch so be careful when using it.
Warning
Activities involving ropes can be dangerous. Therefore If you decide to replicate any of the activities, shown and described on these pages, they must be done under the supervision of a responsible instructor. When using knots the choice of materials; the age, size, and condition of ropes; and the accuracy with which you tie them is crucial. Also using the correct knot for the job, is just as important as maintaining all your pioneering equipment in first class condition. For this reason no responsibility can be accepted for incidents arising from the use of this material.
